
In a world where technology rules, installing computer hardware can feel like trying to assemble IKEA furniture without instructions. But fear not! With a little guidance and a dash of humor, anyone can conquer the chaos of cables and circuits. Whether it’s swapping out a dusty old hard drive or finally upgrading to that shiny new graphics card, the thrill of breathing new life into a machine is unbeatable.
Overview of Computer Hardware Installation
Computer hardware installation involves connecting various components inside a computer. This process can include installing a graphics card, upgrading RAM, or replacing a hard drive. Each component plays a vital role in the system’s overall performance. Understanding these components simplifies the installation process.
First, consider safety. Users should power off the computer and unplug it before starting. This prevents electric shock and component damage. Next, gather necessary tools, such as a screwdriver and an anti-static wrist strap. Having tools ready streamlines the installation.
Installing a graphics card improves gaming and graphic applications. Inserting it into the PCIe slot enhances performance. RAM upgrades provide faster multitasking capabilities. This is especially useful for running multiple applications simultaneously.
Replacing a hard drive with a solid-state drive results in quicker boot times and data access. Users benefit from improved performance and storage capacity. Following specific manufacturer instructions during installation ensures accuracy and functionality.
Connecting cables properly is crucial. Poor connections can lead to system instability or failure. Ensure that power and data cables connect securely to prevent issues.
Testing the system after installation guarantees everything functions correctly. Users should monitor temperatures and performance metrics. Regular updates to drivers maintain compatibility and enhance functionality.
The installation emphasizes careful preparation, proper methods, and thorough testing. With these elements, anyone can upgrade or replace hardware components successfully.
Essential Tools for Hardware Setup

Gathering the right tools streamlines computer hardware installation. Having the essentials at hand ensures a smoother setup process.
Basic Tools Required
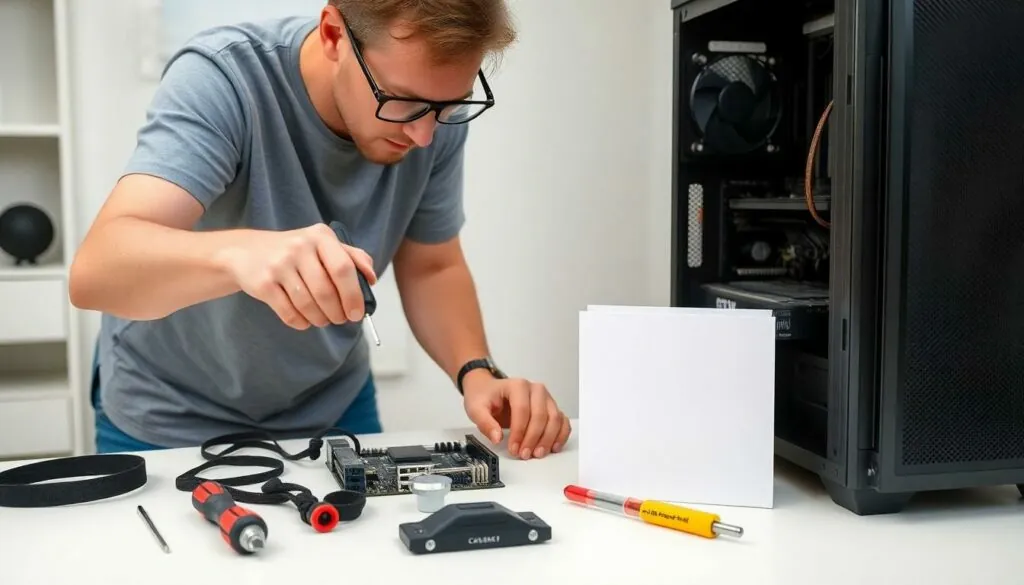
A few basic tools make hardware installation straightforward. A Phillips screwdriver is essential for securing components. An anti-static wrist strap protects sensitive parts from electrical damage. Side cutters help in managing cable ties and removing restraints. Tweezers assist with small connectors, allowing for precise placement. A flashlight aids in spotting difficult-to-see screws and connections. Finally, zip ties help with cable management, promoting airflow and organization within the case.
Additional Tools for Advanced Installation
Advanced installations often require specialized tools. A thermal paste applicator comes in handy for ensuring optimal CPU cooling. A multimeter assists in troubleshooting electrical issues effectively. An external drive enclosure proves useful for upgrading drives without needing a second machine. Cable testers check the integrity of connections, preventing possible failures after installation. Lastly, a power supply tester confirms proper functionality before powering on the system. Having these tools available equips individuals for more complex installations and enhances overall efficiency.
Step-by-Step Guide to Installing Computer Hardware
Installing computer hardware requires a well-organized workspace and a clear plan. Each step builds on the previous one, simplifying the overall process.
Preparing Your Workspace
A clutter-free area enhances focus and safety during installation. Clear any tools or materials not in use. An anti-static mat protects sensitive components from static electricity. Organizing screws and parts in separate containers simplifies retrieval during assembly. Ensure adequate lighting so every connection and detail is visible.
Installing the Motherboard
Start by inserting the motherboard into the case. Align the screw holes with the standoffs, securing it in place using the appropriate screws. Ensure all ports and connectors face the back of the case for easy access. Check that the I/O shield is correctly positioned before securing the motherboard. Confirm the motherboard aligns with the case layout for optimal airflow.
Adding the CPU and RAM
Placing the CPU into the socket requires careful alignment. Lift the lever, align the marked corner of the CPU with the socket, and gently lower it into place. Lock the lever back down to secure it. RAM sticks fit into the designated slots, ensuring the notches align correctly. Press down firmly until the clips snap into place, indicating proper installation.
Connecting Storage Devices
Attach storage devices by locating the SATA ports on the motherboard. Connect SATA cables from the drives to the appropriate ports, ensuring a secure fit. Power connectors from the power supply should attach to each drive as well. Clearly label each cable for easier future identification. Proper cable management enhances airflow and simplifies troubleshooting.
Installing the Power Supply
Begin the power supply installation by positioning it in the designated area of the case. Secure it with screws provided. Ensure the fan faces outwards or towards an intake vent, allowing for optimal cooling. Connect the main motherboard power cable as well as any required peripherals. Neatly route cables to avoid obstruction and improve airflow.
Exterior Components Installation
Exterior components often include cases, fans, and expansion cards like graphics cards. Insert expansion cards into the appropriate slots, ensuring they’re firmly in place. Secure them with screws for stability. Attach any additional case fans, ensuring airflow direction promotes cooling. Verify that all exterior components are firmly secured before closing the case.
Common Mistakes to Avoid
Skipping safety precautions can lead to costly damage. Always power off the computer before starting any installation. Forgetting to use an anti-static wrist strap might cause static electricity to damage sensitive components.
Neglecting proper tools also complicates the process. Keeping basic tools like a Phillips screwdriver and zip ties on hand simplifies tasks from securing screws to managing cables. Overlooking advanced tools can create challenges in intricate setups.
Failing to organize the workspace can result in lost components. A clutter-free environment promotes efficiency and reduces stress. Following a clear plan during installation minimizes the risk of mistakes.
Incorrectly connecting cables may lead to system instability. Ensure connections are secure and correctly oriented. Testing the setup after installation confirms that all components function properly.
Rushing through the installation can produce errors. Patience allows for thorough checks, ensuring every part is installed correctly. Missing driver updates can impact performance, so regularly check for updates post-installation.
Disregarding documentation for components can cause confusion. User manuals often provide essential information specific to each part. Not consulting these resources increases the likelihood of making mistakes.
Forgetting to secure all components before closing the case can lead to operational issues. Each hardware part must be firmly attached to prevent movement during operation. Ensuring everything is secure creates stability and reliability in performance.
Best Practices for Efficient Installation
Ensure safety by powering off the computer and unplugging it before beginning any installation. Use anti-static wrist straps to prevent damage to sensitive components. Gather essential tools like a Phillips screwdriver and zip ties for managing cables efficiently.
Organize the workspace prior to installation. A clutter-free area minimizes distractions and reduces the risk of losing small components. An anti-static mat can further protect hardware during the installation process.
Follow a clear step-by-step approach. Start by securing the motherboard in the case, then proceed to carefully place the CPU and RAM. Connecting storage devices and installing the power supply comes next. Attention should be given to proper cable management to promote effective airflow.
Test each component after installation. Ensuring everything functions correctly helps identify issues early. Regular driver updates maintain compatibility and enhance overall system performance, which is crucial for optimal operation.
Consult user manuals for specific installations. Manuals provide essential information for correctly attaching components and understanding setup requirements. Avoid rushing through the process, as patience helps prevent errors.
Prioritize connectivity by double-checking all cable connections. Secure connections are vital for system stability. Keep important tools nearby throughout the installation for quick access, streamlining the entire process.
System performance improves significantly with thoughtful upgrades. A solid-state drive installation enhances boot times, while additional RAM promotes better multitasking. Following these practices supports a successful computer hardware installation.
Successfully installing computer hardware is a rewarding experience that empowers users to enhance their systems. With the right tools and a clear plan anyone can tackle the installation process with confidence. Following safety precautions and maintaining an organized workspace minimizes stress and errors.
After installation it’s crucial to test each component and ensure everything functions as intended. Regular updates to drivers help maintain compatibility and optimize performance over time. Embracing this journey not only revitalizes a computer but also deepens one’s understanding of technology. With patience and practice anyone can master the art of hardware installation and enjoy the benefits of a well-performing system.